How to Set Up a VPN on Mac (Built-In and App-Based)
macOS has native VPN support under Network settings, but most commercial providers ship an app instead. Here is both routes, and an honest account of what a VPN protects.
Short answer
For a work or school VPN, go to System Settings, Network, click the menu button, choose Add VPN Configuration, and enter the server address and authentication details your administrator provided. Commercial VPN providers usually supply an app instead, which is easier and supports modern protocols macOS does not include natively.
Key takeaways
- System Settings → Network → … menu → Add VPN Configuration.
- Built-in support covers L2TP over IPSec, IKEv2, and Cisco IPSec.
- WireGuard and OpenVPN need an app — macOS does not include them.
- A settings file from an administrator can often be double-clicked to configure everything.
- A VPN hides traffic from the local network and your ISP — it does not make you anonymous.
Setting up a VPN manually
For a work or university VPN where you have been given server details:
- System Settings → Network.
- Click the … button at the bottom of the service list.
- Choose Add VPN Configuration, then the type — IKEv2, L2TP over IPSec, or Cisco IPSec.
- Enter a display name, the server address, and the remote ID if provided.
- Under Authentication Settings, enter your username and password, or select the certificate.
- Click Create.
Connect from the same Network panel, or turn on Show VPN status in menu bar for one-click access.
If your administrator sent a configuration profile, double-click it instead — it fills in everything and avoids transcription errors. Check afterwards under System Settings → General → Device Management that only the expected profile is installed.
Using a provider's app
Most commercial VPN services distribute an app, and for consumer use it is usually the better route:
- It supports WireGuard and OpenVPN, which macOS has no built-in support for.
- It handles server selection and automatic reconnection.
- It includes a kill switch that blocks traffic if the tunnel drops — genuinely important, and not something the built-in client offers.
Install from the App Store or the provider's own site. A VPN app sees all your traffic, so it is the last category of software to install from a search advertisement — the reasoning in how to check for malware on a Mac applies with force here.
Built-in client versus app
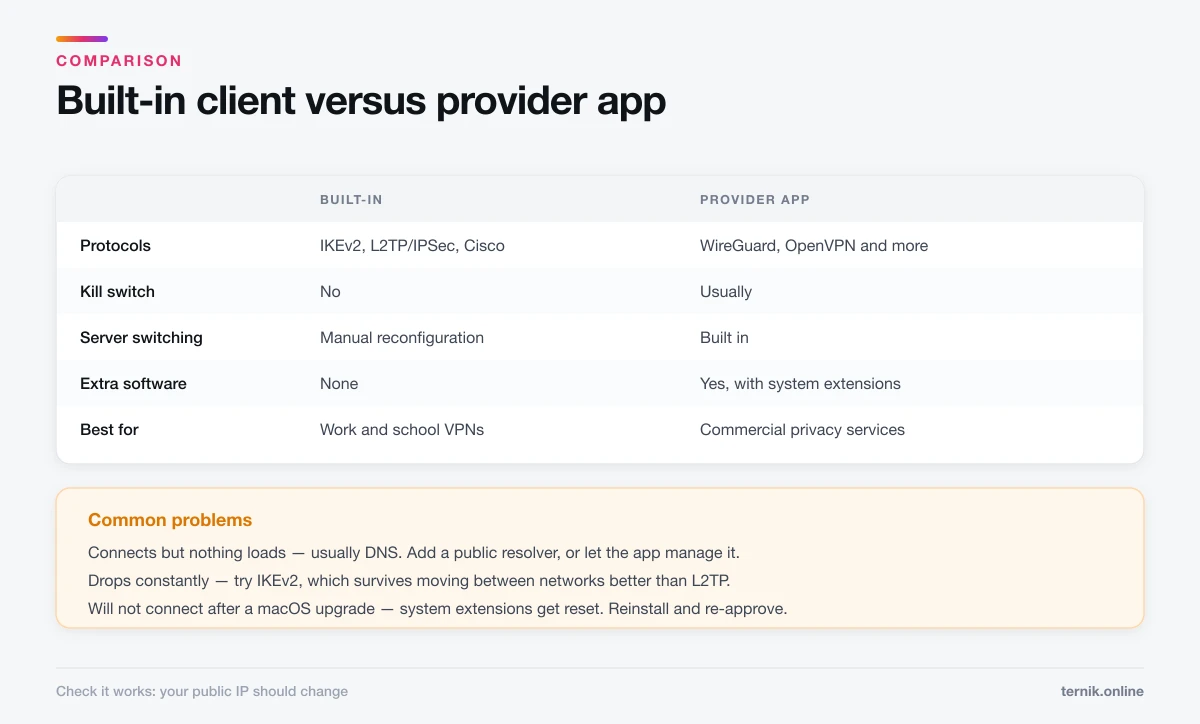
| Built-in | Provider app | |
|---|---|---|
| Protocols | IKEv2, L2TP/IPSec, Cisco IPSec | WireGuard, OpenVPN, and more |
| Kill switch | No | Usually |
| Server switching | Manual reconfiguration | Built in |
| Best for | Work and school VPNs | Commercial privacy services |
| Extra software | None | Yes, with system extensions |
Use the built-in client when an administrator hands you IKEv2 or L2TP details. Use the app for a commercial subscription.
What a VPN actually protects
Worth being precise, because the marketing is not.
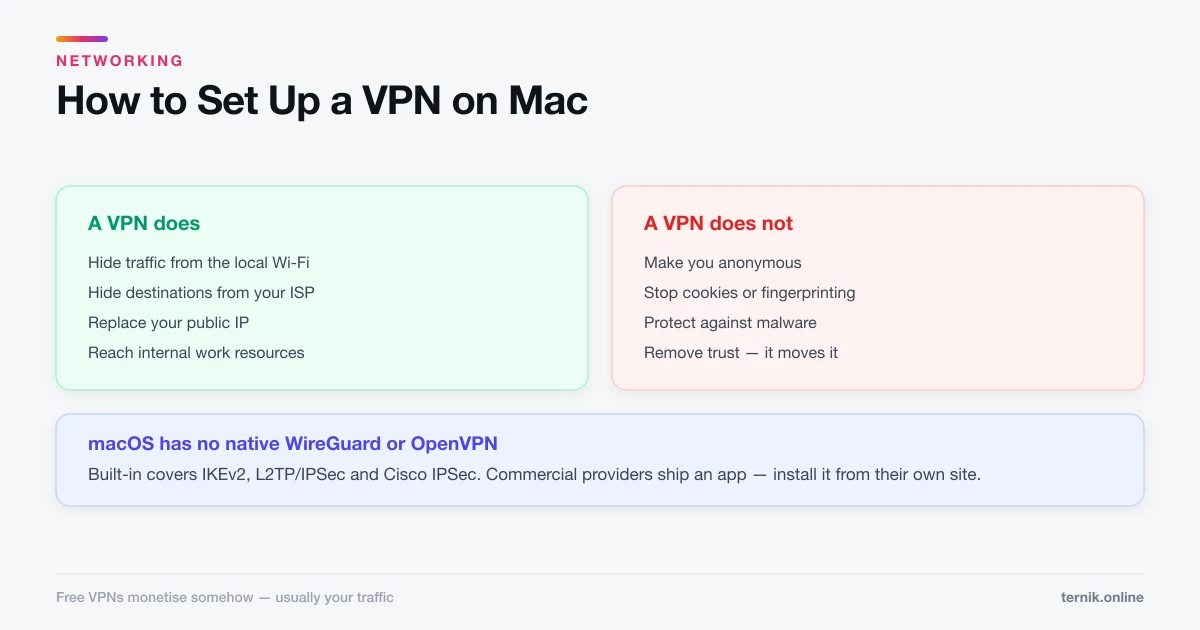
A VPN does:
- Hide your traffic contents and destinations from the local network — the café, hotel, or airport Wi-Fi.
- Hide your browsing destinations from your internet provider.
- Replace your public IP with the VPN server's, changing your apparent location.
- Let you reach internal resources on a work network.
A VPN does not:
- Make you anonymous. Logging into an account identifies you regardless of IP.
- Stop browser fingerprinting, cookies, or tracking scripts.
- Protect against malware — a VPN is not security software.
- Remove trust. You move it from your ISP to the VPN provider, who can see the same traffic.
That last point is the one most often skated over. A free VPN with no revenue model has to monetise somehow, and traffic data is the obvious asset. Free VPNs are frequently worse for privacy than no VPN at all.
Checking it is working
Two checks, both quick:
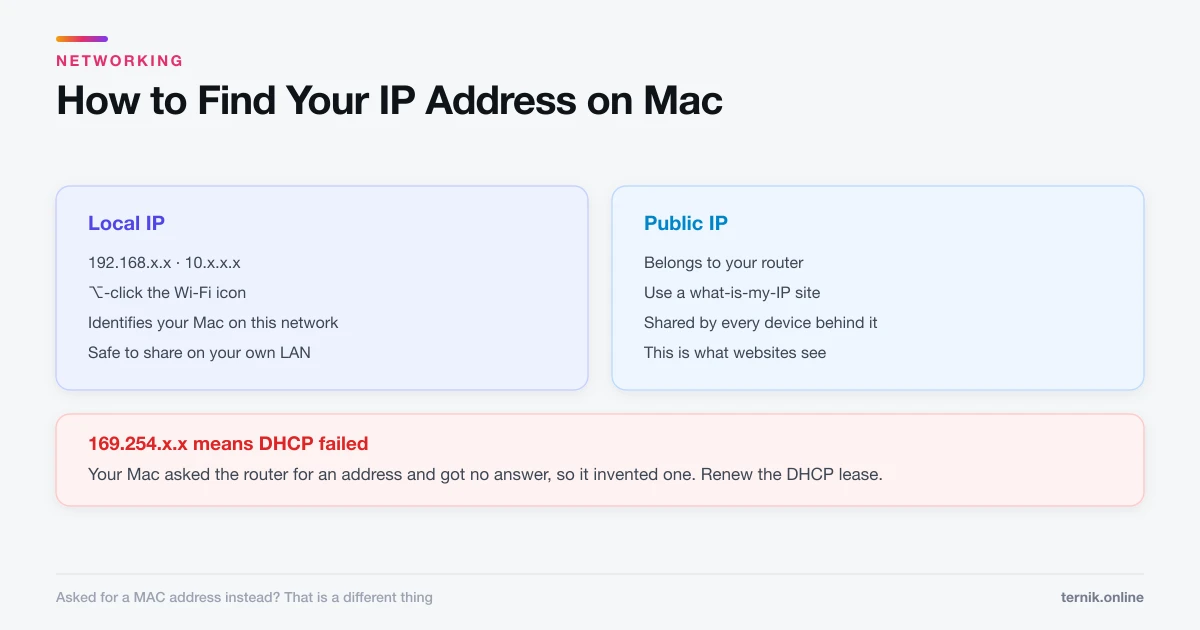
- Your public IP should change. Note it before connecting, then check again — the method is in how to find your IP address on a Mac. If it is unchanged, traffic is not being routed.
- Test for DNS leaks with a DNS leak test site. Requests should resolve through the VPN, not your ISP.
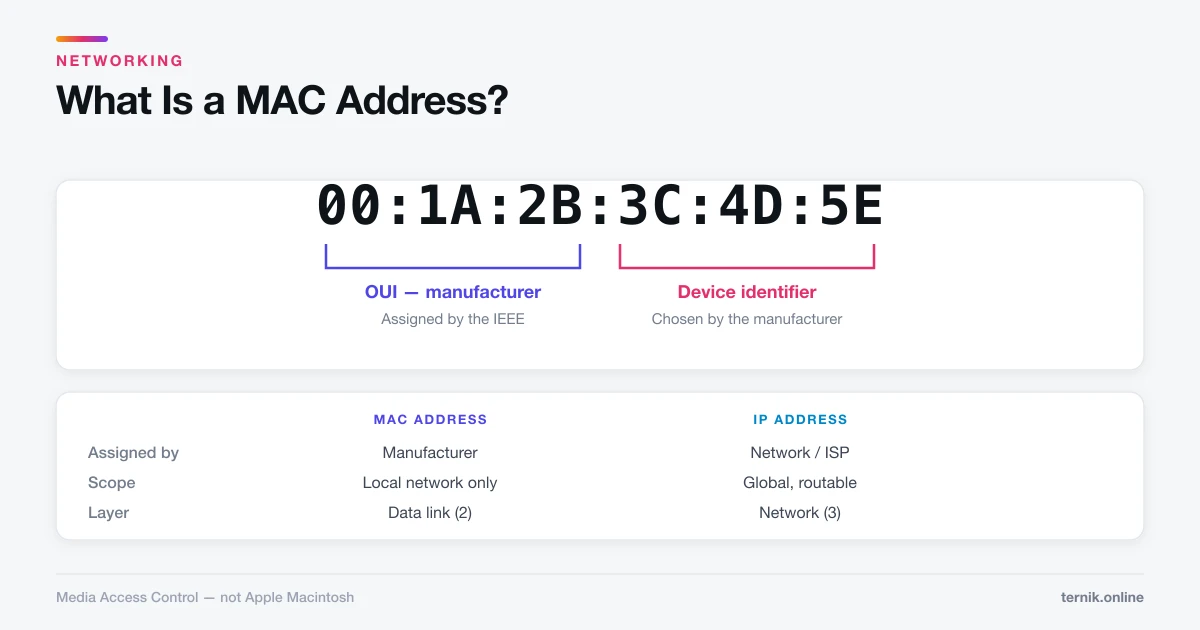
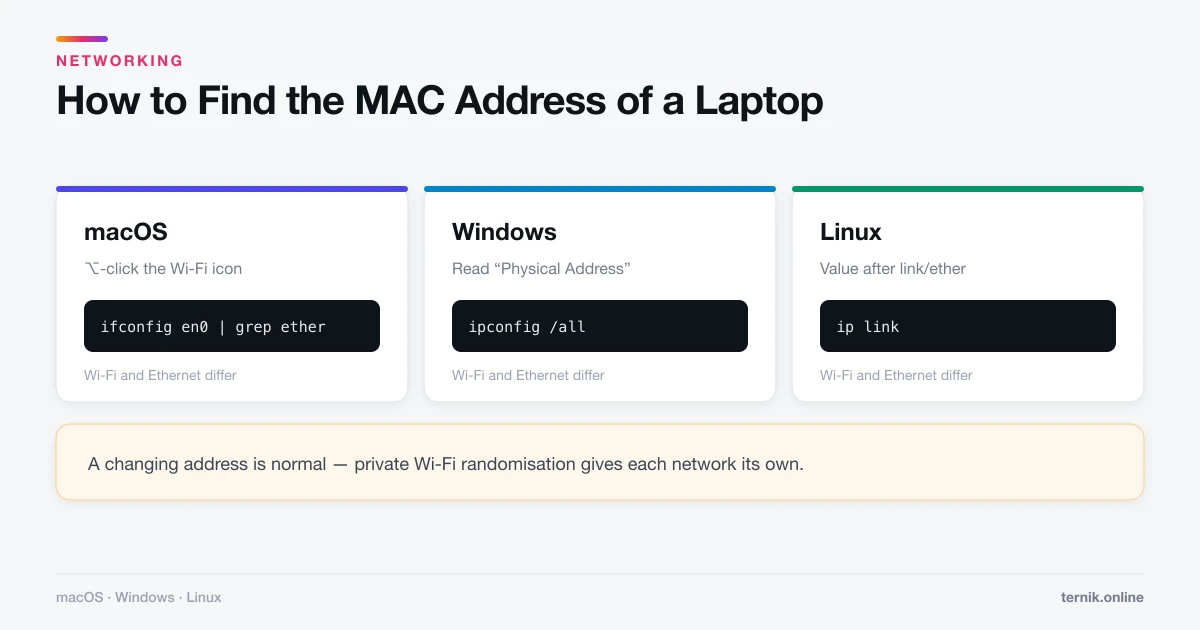
Your local IP and MAC address do not change on a VPN. They remain visible to the local network — a VPN protects traffic in transit, not your presence on the Wi-Fi.
Common problems
Connects but nothing loads. Usually DNS. Under Network → Details → DNS, add a public resolver, or let the VPN app manage DNS if it offers to.
Drops constantly. Try a different protocol or server. IKEv2 handles network changes better than L2TP, which is why it survives moving between Wi-Fi and cellular.
Some sites block you. Streaming and banking services actively detect VPN ranges. Switching servers sometimes helps; often it does not.
Slower than expected. Expected — traffic takes a longer path and is encrypted. A distant server compounds it; choose a nearer one.
Will not connect after a macOS upgrade. VPN clients rely on system extensions, which upgrades frequently reset. Reinstall the app, re-approve its extension under Privacy & Security, and see how to update macOS for the post-upgrade checks worth repeating.
Frequently asked questions
System Settings → Network → the … button → Add VPN Configuration. Choose IKEv2, L2TP over IPSec, or Cisco IPSec, then enter the server address and authentication details.
Sources
Keep reading
More guides to grow your account.