How to Hide Files on Mac (And When Hiding Is Not Enough)
Press Command-Shift-Period to reveal hidden files, or use chflags to hide your own. But hidden is not private — here is when you need encryption instead.
Short answer
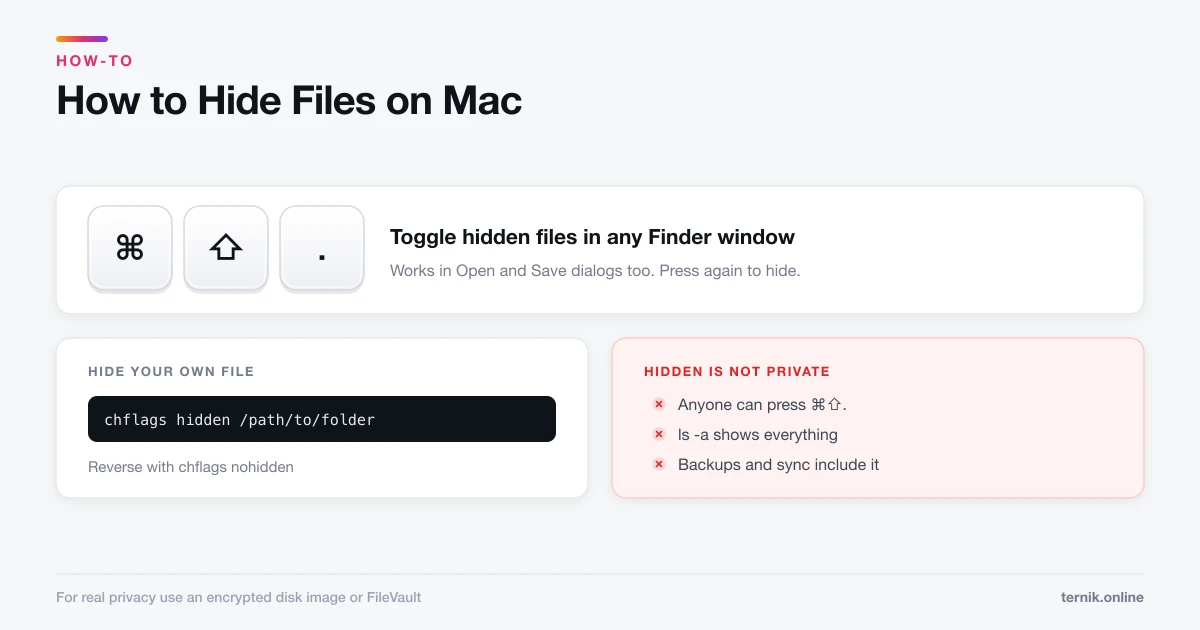
Press Command-Shift-Period in Finder to toggle hidden files on and off. To hide your own file, run 'chflags hidden' followed by the file path in Terminal, or prefix a filename with a dot. Hiding only removes items from casual view — for genuine privacy, use an encrypted disk image or FileVault.
Key takeaways
- ⌘⇧. (Command-Shift-Period) toggles hidden files in any Finder window.
chflags hidden <path>hides a file or folder;chflags nohiddenreverses it.- A filename beginning with a dot is hidden by macOS convention.
- Hiding is cosmetic — anyone who presses ⌘⇧. sees everything.
- For real privacy use an encrypted disk image or FileVault, not hiding.
How do I see hidden files on a Mac?
Open any Finder window and press Command-Shift-Period. Hidden items appear, dimmed. Press it again to hide them.
That single shortcut is what most people are actually looking for — usually to reach ~/Library while removing an app's leftovers, which is exactly where the uninstall process sends you.
The same toggle works in Open and Save dialogs, which is handy when an app refuses to browse to a hidden folder.
How to hide a file or folder
There are two mechanisms, and they behave differently.
The hidden flag. This is the proper way, and it works on any existing file without renaming it. Open Terminal — see how to open Terminal if you have not used it before — and run:
chflags hidden /path/to/your/folder
Rather than typing the path by hand, type chflags hidden (with a trailing space) and then drag the folder from Finder into the Terminal window; macOS fills in the path for you.
To reverse it:
chflags nohidden /path/to/your/folder
The dot prefix. Renaming a file so it starts with a dot — notes.txt to .notes.txt — hides it by Unix convention. Finder will not let you type a leading dot, so this needs Terminal too, using mv. It also breaks anything that referenced the old name, so the flag is usually the better choice.
Which method to use
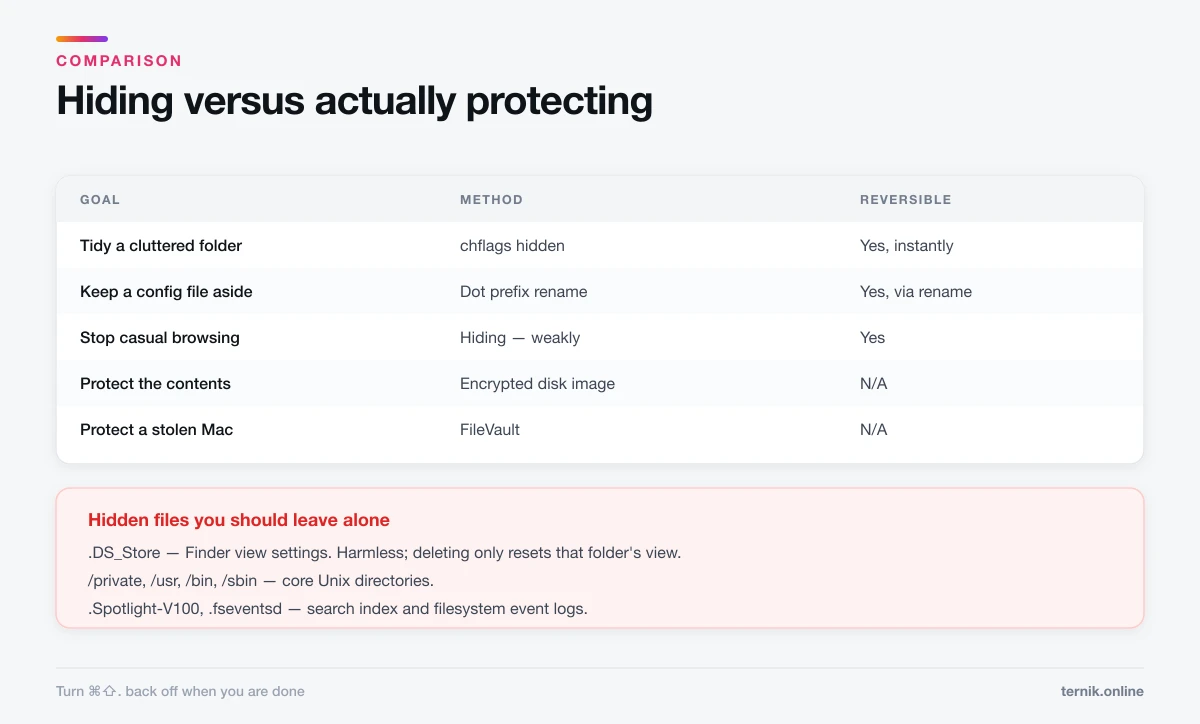
| Goal | Method | Reversible |
|---|---|---|
| Tidy a cluttered folder | chflags hidden |
Yes, instantly |
| Keep a config file out of the way | Dot prefix | Yes, via rename |
| Stop a colleague browsing casually | Hiding — weakly | Yes |
| Actually protect the contents | Encrypted disk image | N/A |
| Protect everything if the Mac is stolen | FileVault | N/A |
Hiding is not privacy
This is the part worth being blunt about. A hidden file is hidden from a glance, nothing more. It remains fully readable to:
- Anyone who presses ⌘⇧. in Finder.
- Spotlight, in many cases.
- Any Terminal user running
ls -a. - Every backup, including Time Machine and any cloud sync.
- Anyone who removes the drive and mounts it elsewhere.
If the reason you are hiding something is that it would matter if another person read it, hiding is the wrong tool.
The private option: an encrypted disk image
An encrypted disk image is a file that mounts as a volume when you supply a password, and is unreadable ciphertext otherwise. It is built into macOS.
- Open Disk Utility (Applications → Utilities).
- Choose File → New Image → Blank Image.
- Name it, choose a size and a location.
- Set Format to APFS.
- Under Encryption, choose 128-bit or 256-bit AES.
- Enter a password — there is no recovery if you forget it — and click Choose.
- Click Save, then Done.
Copy your files in, then eject the volume. What remains on disk is a single encrypted file. Choose 256-bit for genuinely sensitive material and 128-bit when speed matters more.
The warning is not boilerplate: a forgotten password means the data is gone permanently. Store it in a password manager.
FileVault: the whole-disk answer
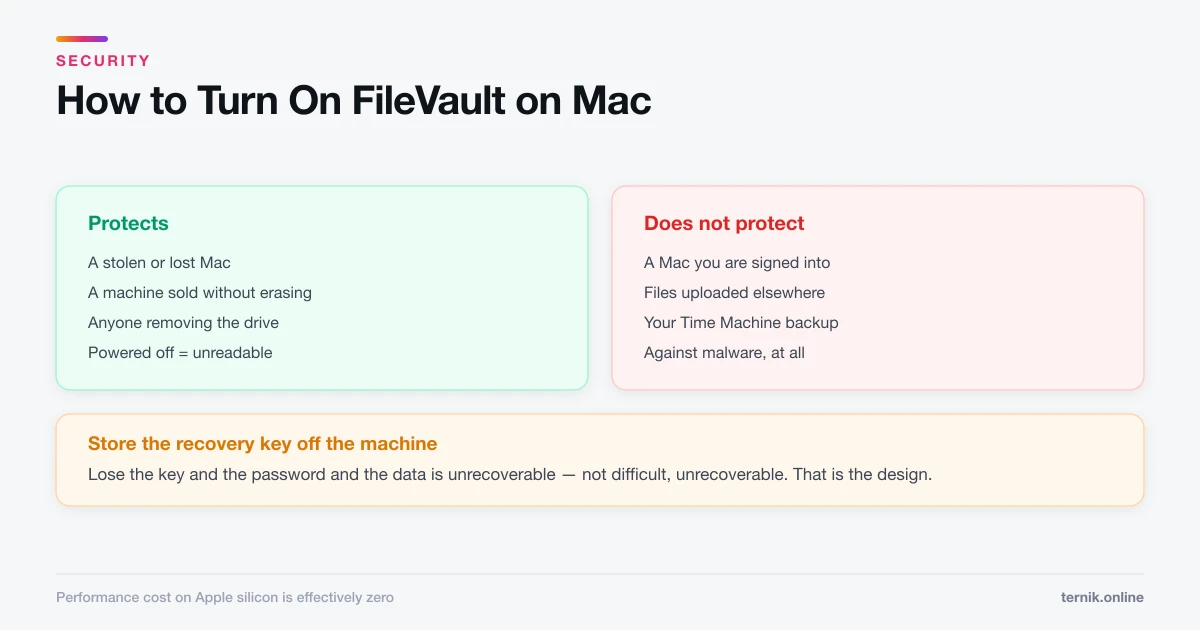
FileVault encrypts your entire startup disk, so that a Mac which is powered off or at the login screen is unreadable to anyone who takes it. Turn it on under System Settings → Privacy & Security → FileVault.
It protects against theft and disposal, not against someone using your Mac while you are logged in. The two tools are complementary — FileVault for the device, an encrypted disk image for specific files that should stay sealed even while you are working.
Save the recovery key somewhere off the machine.
Hidden files you should leave alone
Once ⌘⇧. is on, the system folders become visible. Nearly all of them should stay exactly as they are:
.DS_Store— Finder's per-folder view settings. Harmless. Deleting it just resets that folder's view./private,/usr,/bin,/sbin— core Unix directories..Spotlight-V100,.fseventsd— search index and filesystem event logs.~/Library— your own settings, safe to explore, precise about what you remove.
Turn the toggle back off when you are done. Working with hidden files permanently visible makes it far easier to delete something load-bearing by accident — and if a Mac is already misbehaving, safe mode is a better diagnostic than deleting system files on instinct.
Frequently asked questions
Command-Shift-Period in any Finder window. Press it again to hide them. It also works in Open and Save dialogs.
Sources
Keep reading
More guides to grow your account.