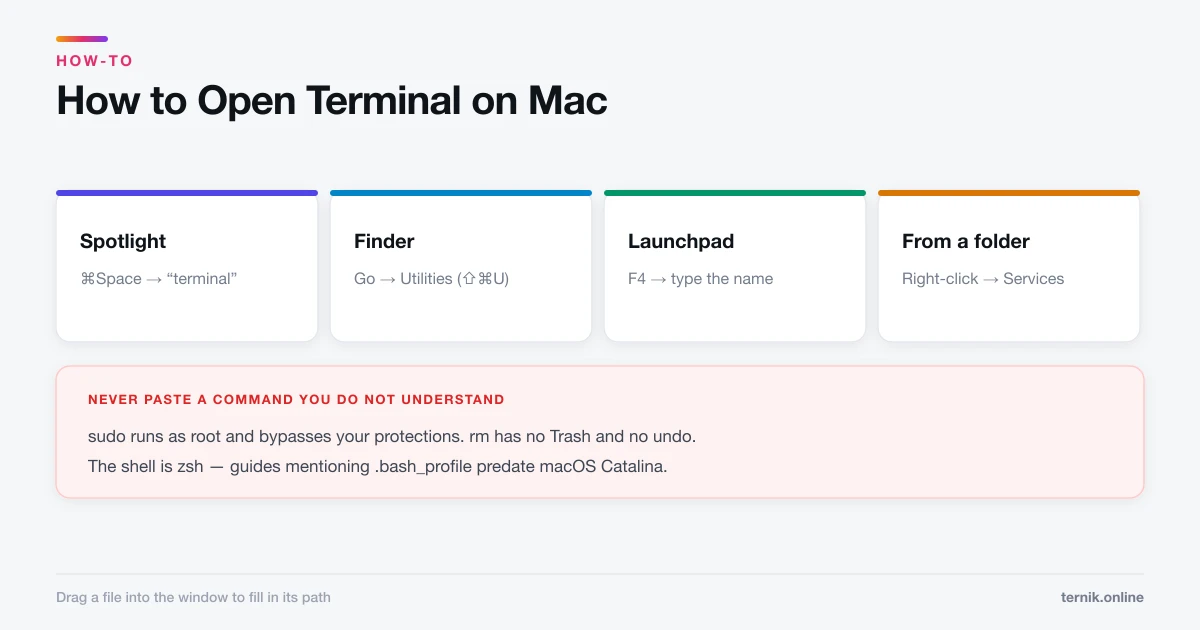
How to Split Screen on Mac (Split View and Tiling)
Hover the green button to put two apps side by side, or drag a window to a screen edge to tile it. Here is both, plus how to escape when you get stuck.
Short answer
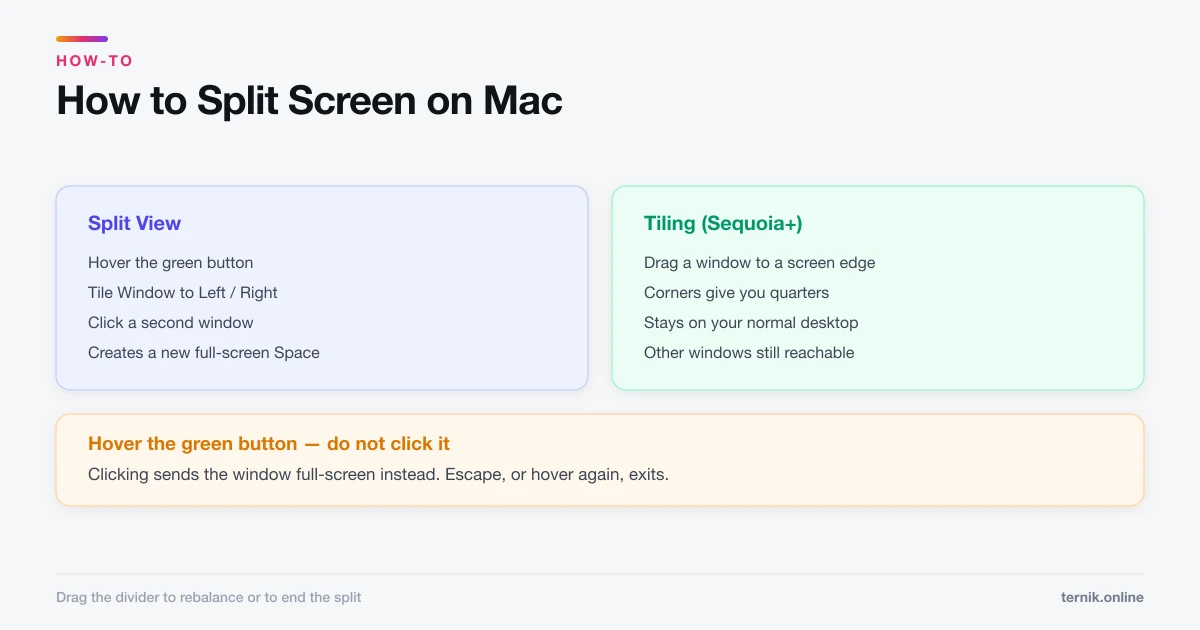
Hover over the green button in a window's top-left corner and choose Tile Window to Left or Right of Screen, then click a second window to fill the other half. On macOS Sequoia and later you can also drag a window to a screen edge to tile it. Press Escape or hover the green button again to exit.
Key takeaways
- Hover the green button → choose a tiling option → click a second window.
- On macOS Sequoia and later, dragging a window to a screen edge tiles it.
- Split View creates a new full-screen Space — swipe with four fingers to leave it.
- Escape or hovering the green button again exits.
- Drag the divider to rebalance; drag it to an edge to end the split.
How do I split the screen on a Mac?
- Move the pointer over the green button at the top-left of a window — hover, do not click.
- Choose Tile Window to Left of Screen or Right of Screen.
- The window snaps to that half and your other windows appear as thumbnails on the other side.
- Click one to fill the remaining half.
Clicking the green button rather than hovering sends the window full-screen instead, which is the single most common mistake here.
Dragging to tile
macOS Sequoia added window tiling by dragging:
- Drag a window to the left or right edge — it fills that half.
- Drag it to a corner — it fills that quarter.
- Drag it to the top edge — it fills the screen.
A translucent outline previews the result before you release. This is faster than the green-button menu once it becomes habit, and unlike Split View it does not create a separate Space — the windows stay on your normal desktop, which most people prefer.
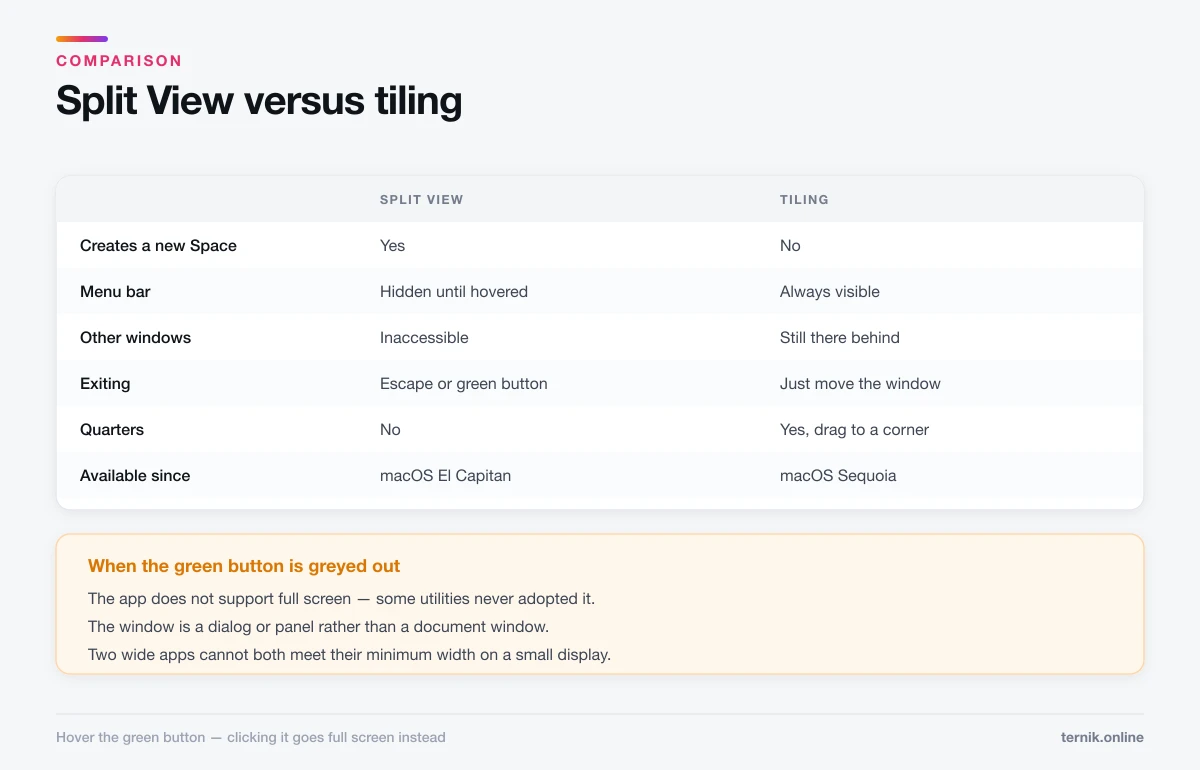
Split View versus tiling
They look similar and behave very differently.
| Split View | Tiling | |
|---|---|---|
| Creates a new Space | Yes | No |
| Menu bar | Hidden until hovered | Always visible |
| Other windows | Inaccessible without leaving | Still there behind |
| Exiting | Escape or green button | Just move the window |
| Available since | macOS El Capitan | macOS Sequoia |
If you find Split View claustrophobic — and many do, because it hides everything else — tiling is what you actually want.
Working inside Split View
- Resize by dragging the black divider. Some apps have a minimum width and will not shrink past it.
- Swap sides by dragging a window's toolbar across the divider.
- Reveal the menu bar by moving the pointer to the top of the screen.
- Switch out with a four-finger swipe left or right, or Control-Arrow. The split stays intact in its own Space.
- Mission Control (F3, or three-finger swipe up) shows the split as a single unit at the top of the screen.
- Capture just one half with Shift-Command-4, as covered in how to take a screenshot.
Getting out
Three routes, in order of reliability:
- Press Escape.
- Hover the green button and choose Exit Full Screen.
- Drag the divider all the way to one edge — the other window closes out of the split.
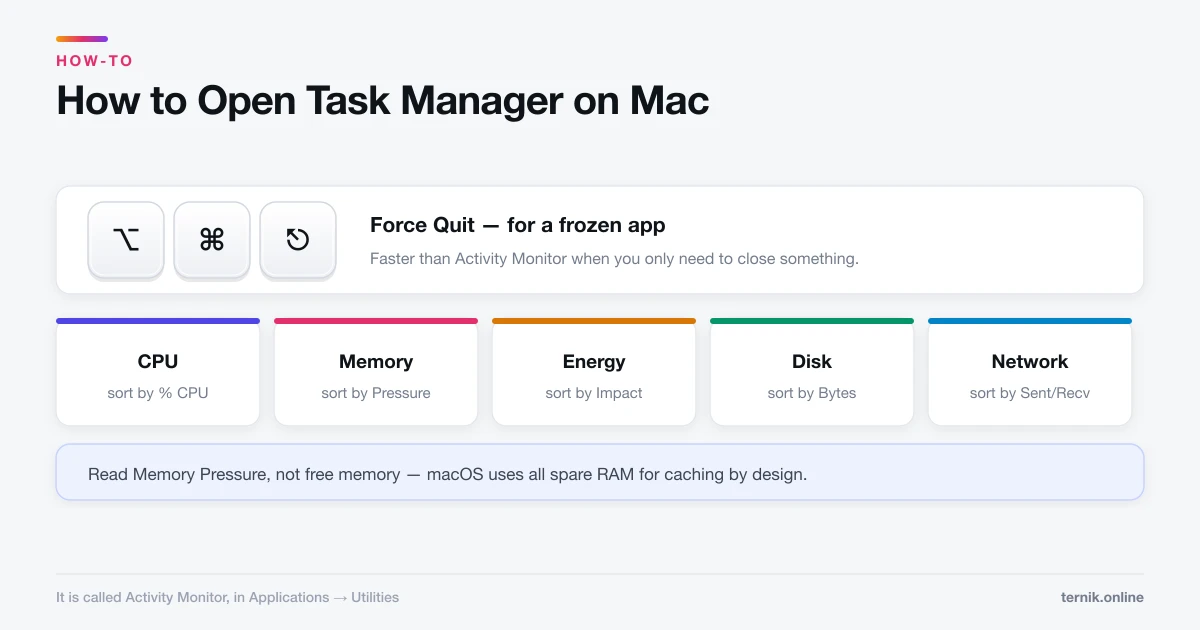
If none respond, the app has stopped handling events. Press Option-Command-Escape to force quit it; the remaining window returns to the desktop by itself. The Activity Monitor guide covers what to do if force quitting becomes a pattern.
When an app will not enter Split View
Not every window can be tiled. Common reasons:
- The app does not support full screen. Some utilities and older software never adopted it.
- The window is a dialog or panel. Preferences windows and inspectors are not tileable.
- A minimum width is set. Two wide apps cannot both fit on a small display.
- The app is already full screen. Exit first, then tile.
The green button is greyed out in these cases, which is the fastest way to tell.
Making it worthwhile on a laptop
Split View on a 13-inch display gives each app roughly 640 points of width, which is narrow for anything with a sidebar. Two things help:
- Hide sidebars in both apps.
- Increase screen real estate under System Settings → Displays by choosing a "More Space" scaled resolution. Text gets smaller — which pairs badly with a short display timeout if you are working at a distance, something the Lock Screen settings control.
For reference-and-write workflows — a document beside a browser — the split is genuinely useful. For anything needing three windows, tiling into quarters serves better than Split View ever will.
Frequently asked questions
Hover over the green button in a window's top-left corner, choose Tile Window to Left or Right of Screen, then click a second window to fill the other half.
Sources
Keep reading
More guides to grow your account.