How to Take a Screenshot on a Mac (Every Method)
Shift-Command-3 grabs the whole screen and Shift-Command-4 grabs a selection. Here is every macOS screenshot shortcut, plus how to change where files save.
Short answer
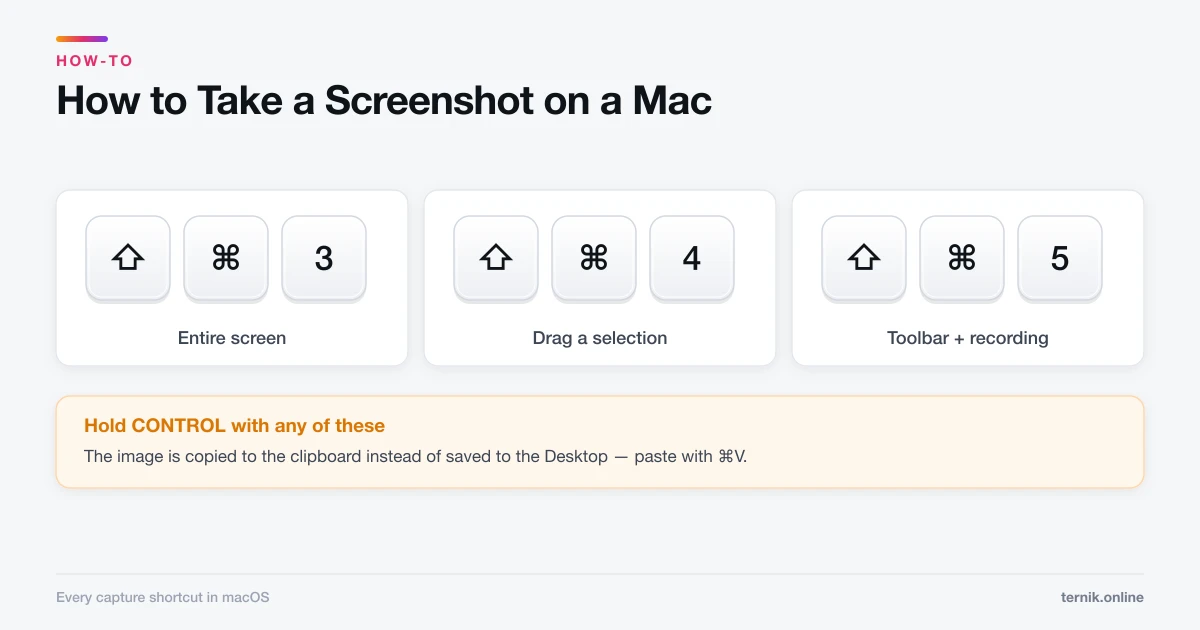
Press Shift-Command-3 to capture the entire screen or Shift-Command-4 to drag a selection. Shift-Command-5 opens a toolbar with a timer, window capture, and save-location options. Screenshots save to the Desktop as PNG files unless you change the destination.
Key takeaways
- Shift-Command-3 captures the entire screen the instant you press it.
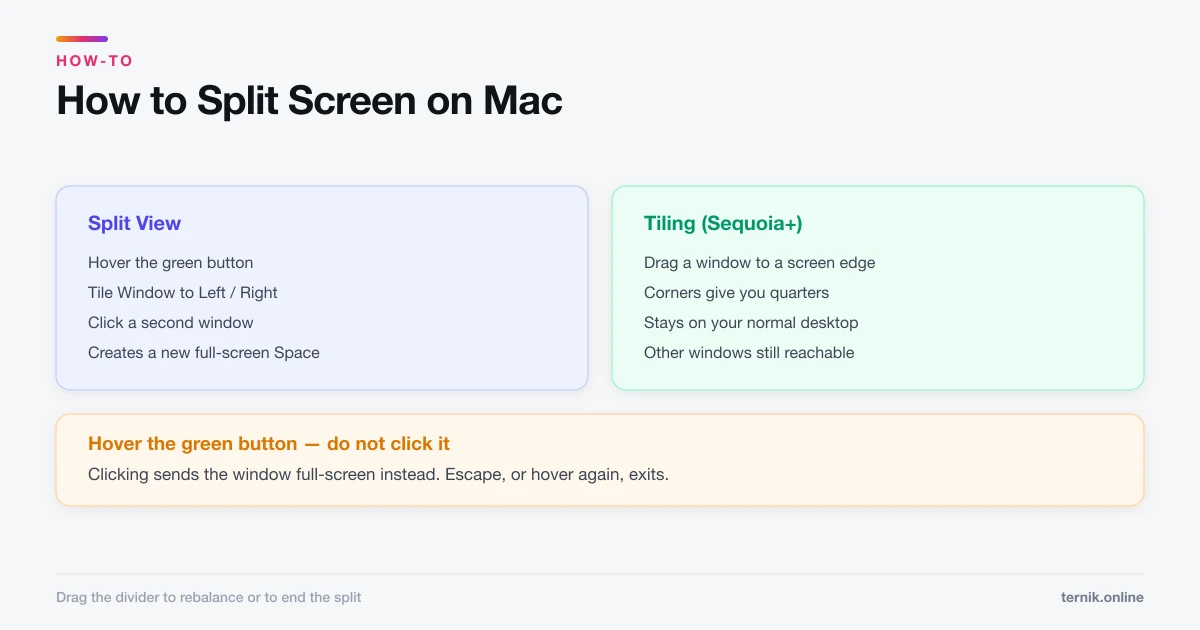
- Shift-Command-4 turns the pointer into crosshairs so you can drag a selection — useful when two apps are tiled side by side and you want only one.
- Shift-Command-4, then Space captures one window with a clean drop shadow.
- Shift-Command-5 opens the Screenshot toolbar with a timer and save-location menu.
- Add Control to any of these to copy to the clipboard instead of writing a file.
What is the fastest way to screenshot on a Mac?
Press Shift-Command-3 for the whole screen, or Shift-Command-4 to drag a box around part of it. Both save a PNG to your Desktop and flash a thumbnail in the bottom-right corner. Click that thumbnail to mark the image up straight away, or ignore it and the file saves on its own after a few seconds.
That is the entire answer for most people. The rest of this guide covers the cases where the default behaviour is not what you want.
Every macOS screenshot shortcut
| Shortcut | What it captures |
|---|---|
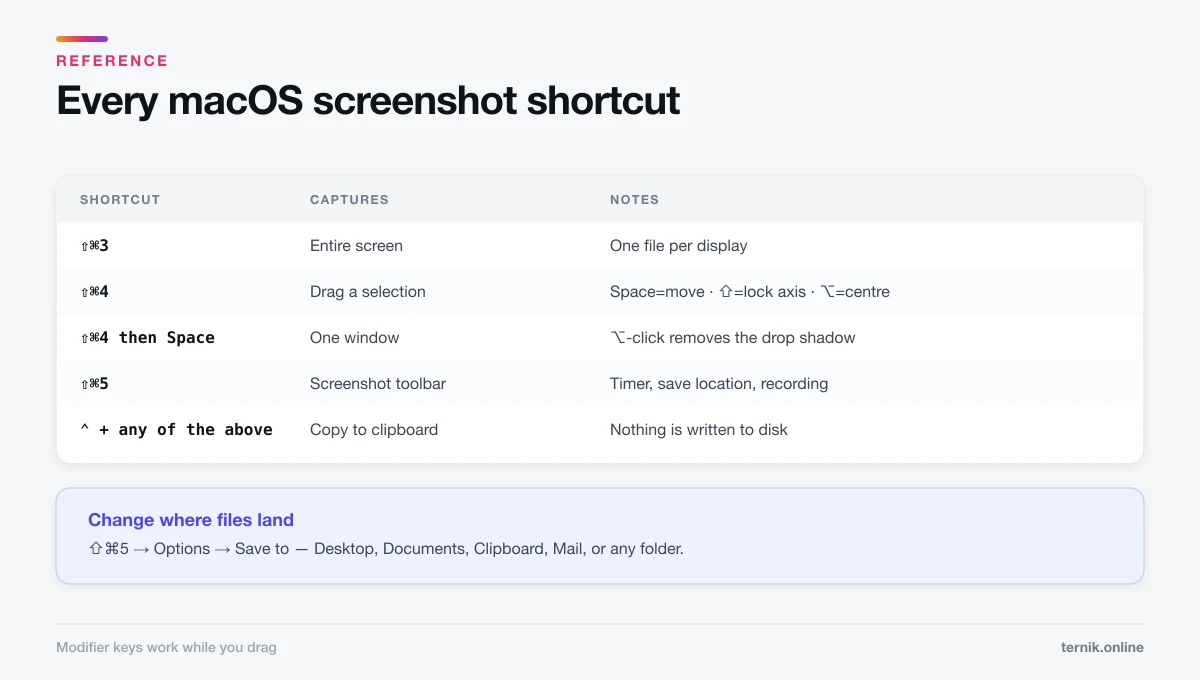
| Shift-Command-3 | The entire screen (every display gets its own file) |
| Shift-Command-4 | A rectangular selection you drag |
| Shift-Command-4, then Space | A single window, menu, or the Dock |
| Shift-Command-5 | The Screenshot toolbar — capture and recording options |
| Shift-Command-6 | The Touch Bar, on Macs that have one |
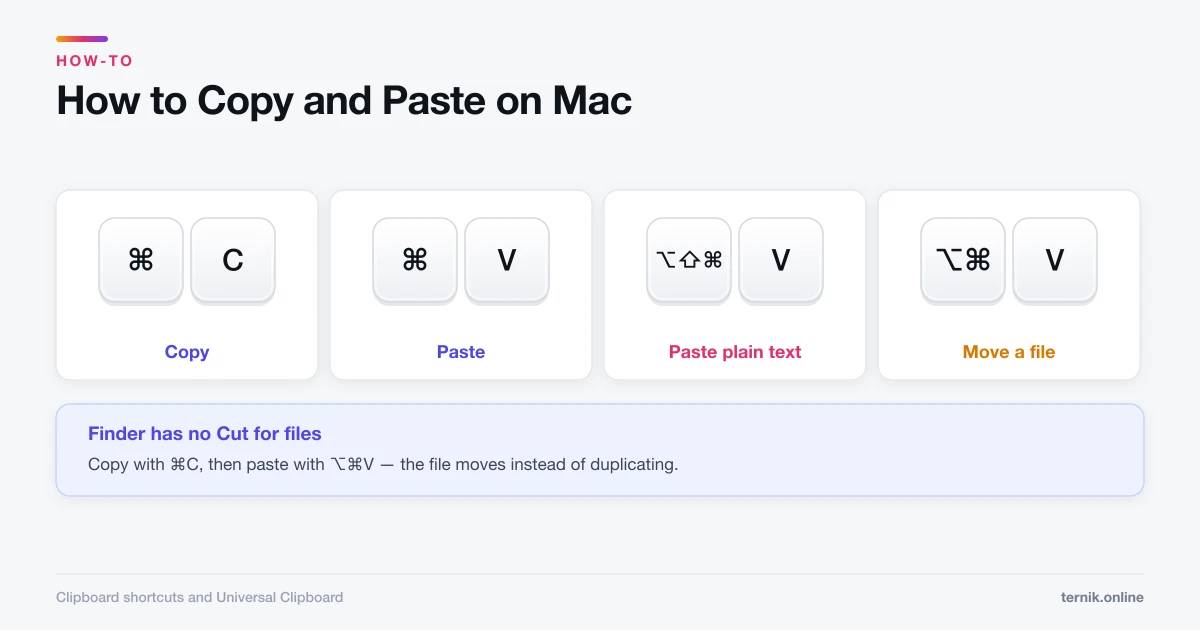
Add Control to any of them — Control-Shift-Command-4, for example — and the image goes to the clipboard instead of the Desktop. Paste it straight into Mail, Messages, or a document with Command-V; the clipboard shortcuts behave the same as they do for text.
How to capture a single window cleanly
Cropping a window by hand never quite works; you either clip the shadow or catch some desktop. Do this instead:
- Press Shift-Command-4. The pointer becomes crosshairs.
- Press Space. The pointer becomes a camera icon.
- Move over the window you want — it highlights blue.
- Click.
You get the window on a transparent background with its drop shadow intact. Hold Option as you click to drop the shadow, which is usually what you want for documentation or a support ticket.
This trick works on menus too. Open the menu, press Shift-Command-4, press Space, and click it.
Refining a selection while you drag
While dragging with Shift-Command-4, the modifier keys adjust the selection instead of starting over:
- Space (held) — move the whole selection without resizing it.
- Shift — lock one dimension and adjust only the other.
- Option — resize from the centre outward.
- Esc — cancel without capturing.
How to change where screenshots save
The Desktop fills up fast. Press Shift-Command-5, click Options, and pick a destination under "Save to" — Documents, Clipboard, Mail, Messages, Preview, or Other Location for any folder you like.
The same Options menu holds two settings worth knowing:
- Timer — 5 or 10 seconds, for capturing hover states and menus that vanish when you click elsewhere.
- Remember Last Selection — reuses your previous selection box, which is invaluable when capturing the same region repeatedly.
Your choices persist until you change them again.
How to change the file format
macOS saves PNG by default. PNG is right for interfaces and text — it is lossless and crisp. For photo-heavy captures where file size matters more than fidelity, switch to JPEG from Terminal:
defaults write com.apple.screencapture type jpg
killall SystemUIServer
Replace jpg with png to change back. Other accepted values are pdf, tiff, and heic.
How to annotate a screenshot
Click the thumbnail before it disappears and Markup opens immediately — arrows, shapes, text, a redaction tool for blacking out sensitive details, and a signature tool.
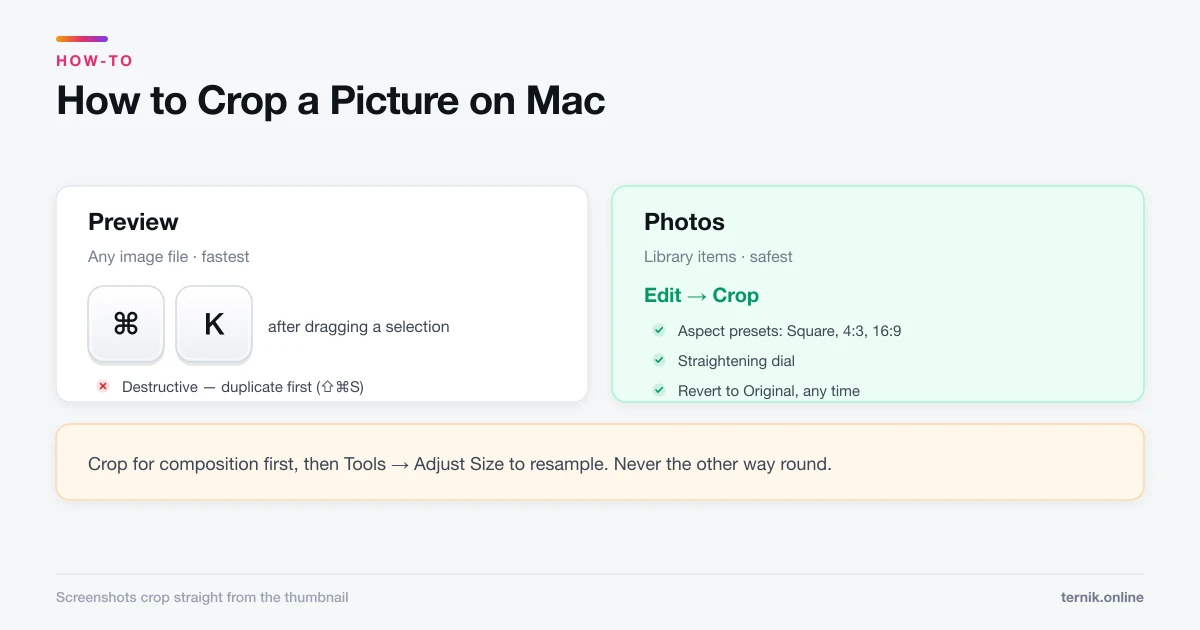
Missed the thumbnail? Open the file in Preview and press Shift-Command-A for the same toolbar — the same place you would crop the picture. If you are capturing something sensitive, use the redaction tool rather than drawing a black rectangle over the text; a drawn shape can be moved aside by anyone who opens the file.
Screenshot shortcuts not working? Try this
Almost always one of four things:
- The shortcut is disabled. Open System Settings → Keyboard → Keyboard Shortcuts → Screenshots and confirm the boxes are ticked.
- Another app claimed the combination. Screen-sharing and note-taking tools frequently grab Shift-Command-4. Quit them one at a time to find the culprit.
- Screen Recording permission is missing. Shift-Command-5 recordings need it under Privacy & Security. Plain screenshots do not.
- The app blocks capture. Streaming apps and some banking software deliberately render black frames. That is by design, not a fault.
If nothing works, restart — the SystemUIServer process that owns these shortcuts can hang. For a Mac misbehaving in broader ways, run Apple Diagnostics to rule out hardware.
Screenshots versus screen recordings
Shift-Command-5 handles both. The left group of buttons captures stills; the right group records video. If you are demonstrating a sequence rather than a state, a recording is almost always clearer — see how to screen record on a Mac for frame rates, audio, and file sizes.
One habit worth building: screenshots pile up. A week of debugging can leave forty PNGs on your Desktop. Point the save location at a dedicated folder from day one, and clear it when you clear your downloads and unused apps.
Frequently asked questions
The Desktop by default, named 'Screenshot [date] at [time].png'. Change the destination under Shift-Command-5 → Options → Save to.
Sources
Keep reading
More guides to grow your account.