How to Screen Record on Mac (With Audio)
Shift-Command-5 records your screen in seconds, but it will not capture system audio without help. Here is the full workflow, including microphone setup and file sizes.
Short answer
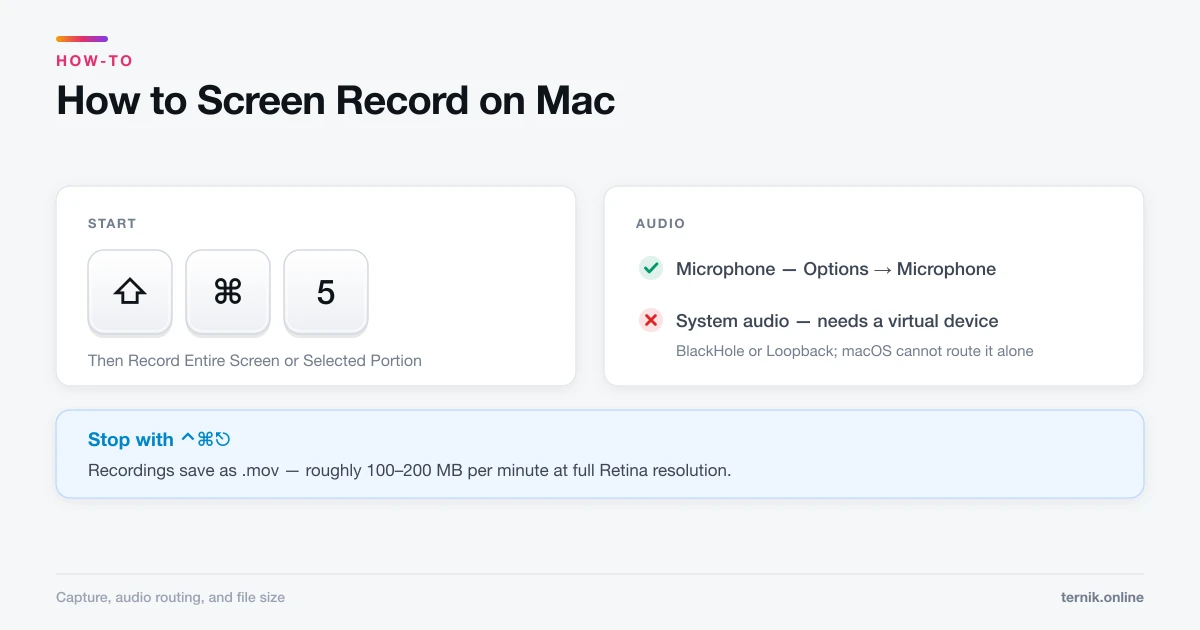
Press Shift-Command-5, choose 'Record Entire Screen' or 'Record Selected Portion', and click Record. Stop from the menu bar or with Command-Control-Esc. Microphone audio is available in the Options menu, but capturing internal system audio requires a virtual audio device, which macOS does not include.
Key takeaways
- Shift-Command-5 opens the Screenshot toolbar, which handles screen recording too.
- Choose Record Entire Screen or Record Selected Portion, then click Record.
- Stop with Command-Control-Esc, or the stop button in the menu bar.
- Microphone audio works out of the box; system audio does not without extra software.
- Recordings save as
.movto the Desktop by default — roughly 100–200 MB per minute at full resolution.
How do I record my screen on a Mac?
Press Shift-Command-5. A toolbar appears at the bottom of the screen. The two right-hand buttons are the recording controls:
- Record Entire Screen — captures everything on the selected display.
- Record Selected Portion — drag a box, then record only that region.
Click Record to start. A stop button appears in the menu bar. Press Command-Control-Esc to stop, and the file lands on your Desktop as a .mov.
That covers video. Audio is where it gets complicated.
Recording with microphone audio
Before you click Record, click Options in the toolbar and pick your input under Microphone. The setting persists, so you only do this once.
Two things to check:
- Choose the right input. The built-in mic is fine for a quick walkthrough; an external mic or headset is noticeably better for anything others will watch.
- Grant permission. The first attempt triggers a Privacy & Security prompt. Deny it and you get silent recordings with no warning.
Why you cannot record system audio
This is the most common frustration, and it is a deliberate design decision rather than a bug. macOS does not route internal audio — the sound coming from your apps — into the screen recorder. Record a video call or a YouTube clip and you will capture your microphone and nothing else.
There are two workarounds:
- Install a virtual audio device. Tools such as BlackHole (free, open source) or Loopback (paid) create a virtual output that macOS treats as a microphone. You then build a Multi-Output Device in Audio MIDI Setup so you can hear the audio while it is being captured.
- Record the source directly. For a video call, most conferencing apps have their own recording feature that captures all participants properly. It is almost always the better result.
If you only need the audio for reference, pointing a microphone at your speakers works — badly, but it works.
QuickTime Player: the alternative
QuickTime Player offers the same engine with a slightly different workflow: File → New Screen Recording. On current macOS this simply hands off to the Shift-Command-5 toolbar.
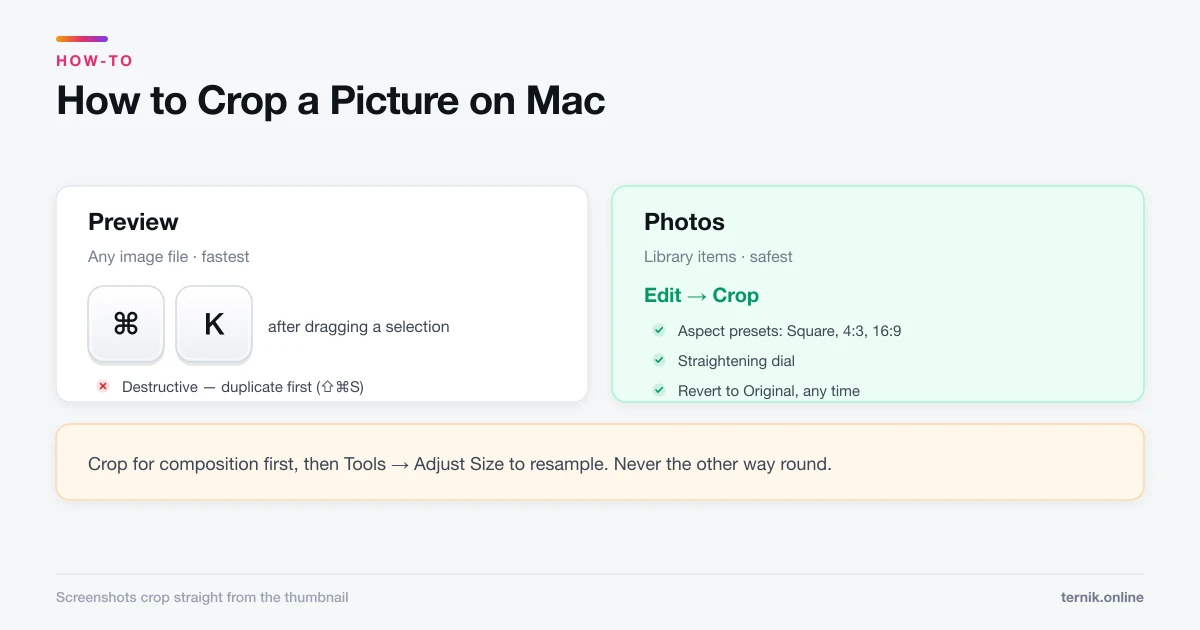
QuickTime is still worth opening for what comes next. It handles basic trimming (Command-T), lets you export at reduced resolutions to shrink file size, and can record an iPhone or iPad screen over USB — choose File → New Movie Recording, then select the device as the camera source.
Managing file size
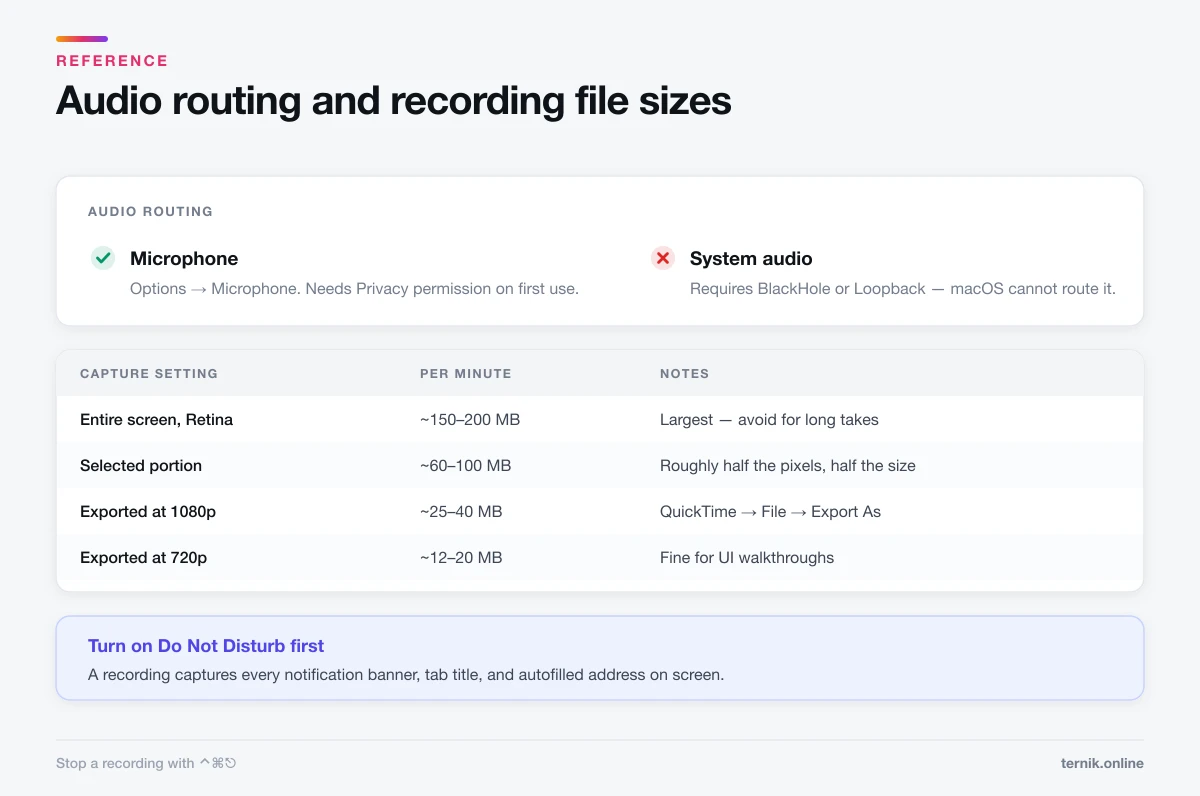
Screen recordings are large. A full-resolution Retina recording runs roughly 100–200 MB per minute, so a ten-minute walkthrough can approach 2 GB.
Ways to keep it manageable:
- Record a selected portion rather than the entire screen. Half the pixels, roughly half the file.
- Lower your display resolution before recording, under System Settings → Displays.
- Export at 1080p or 720p from QuickTime afterwards — File → Export As.
- Trim first, export second. Cutting the dead air at the start removes real megabytes.
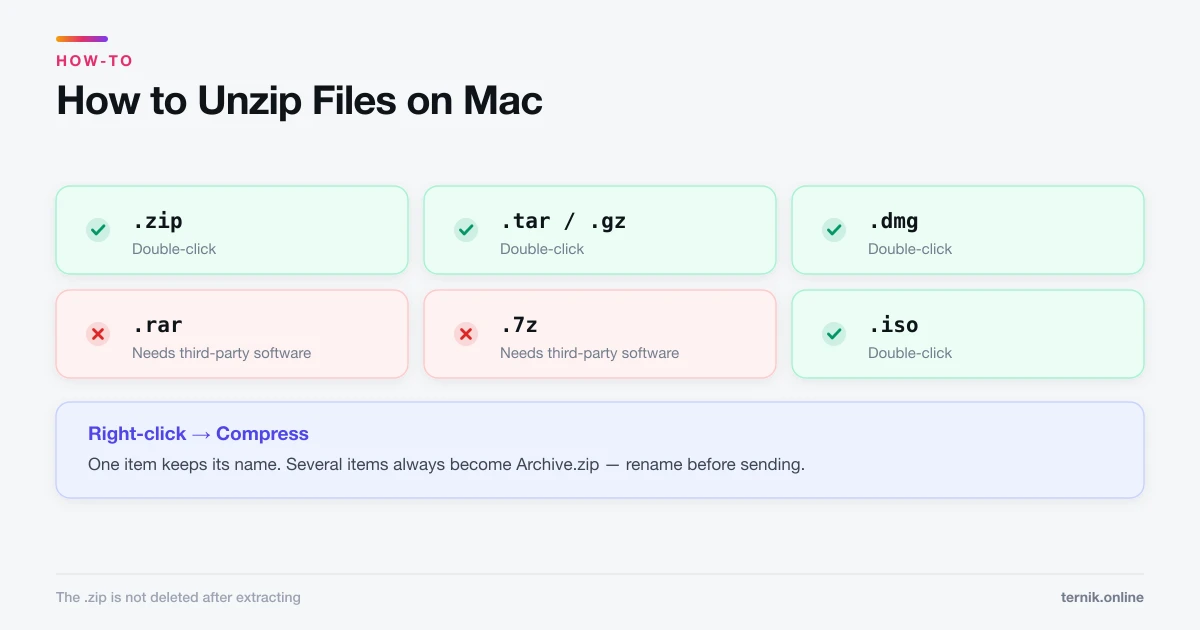
Large recordings are also worth zipping before sending — see how to unzip and create archives. Check your free space before a long session. A recording that fills the startup disk will fail and may take the rest of the system down with it — keep at least 15% free, and clear out apps you no longer use if you are tight.
Options worth knowing
The Options menu in the Shift-Command-5 toolbar holds settings that make recordings substantially more usable:
| Option | Why it matters |
|---|---|
| Save to | Send recordings somewhere other than the Desktop |
| Timer | 5 or 10 seconds to get into position before recording starts |
| Show Floating Thumbnail | Preview and trim immediately after stopping |
| Show Mouse Clicks | Draws a circle around each click — essential for tutorials |
| Remember Last Selection | Reuse the same capture region across takes |
Show Mouse Clicks is the one people miss. Without it, a viewer cannot tell what you clicked, only that something changed.
Recording etiquette and privacy
A screen recording captures everything visible, including things you stop noticing:
- Notification banners — turn on Do Not Disturb first.
- Browser tabs, bookmarks, and autofilled email addresses.
- Desktop file names and any open Messages window.
Before recording anything you will share, enable Do Not Disturb, close unrelated windows, and consider a clean user account for tutorials. If you only need one moment rather than a sequence, a screenshot is easier to redact after the fact.
Troubleshooting
"Screen Recording permission required." Go to System Settings → Privacy & Security → Screen & System Audio Recording and enable it for the app. You must quit and reopen the app afterwards.
The recording is silent. Microphone is set to None in Options, or permission was denied. Check both.
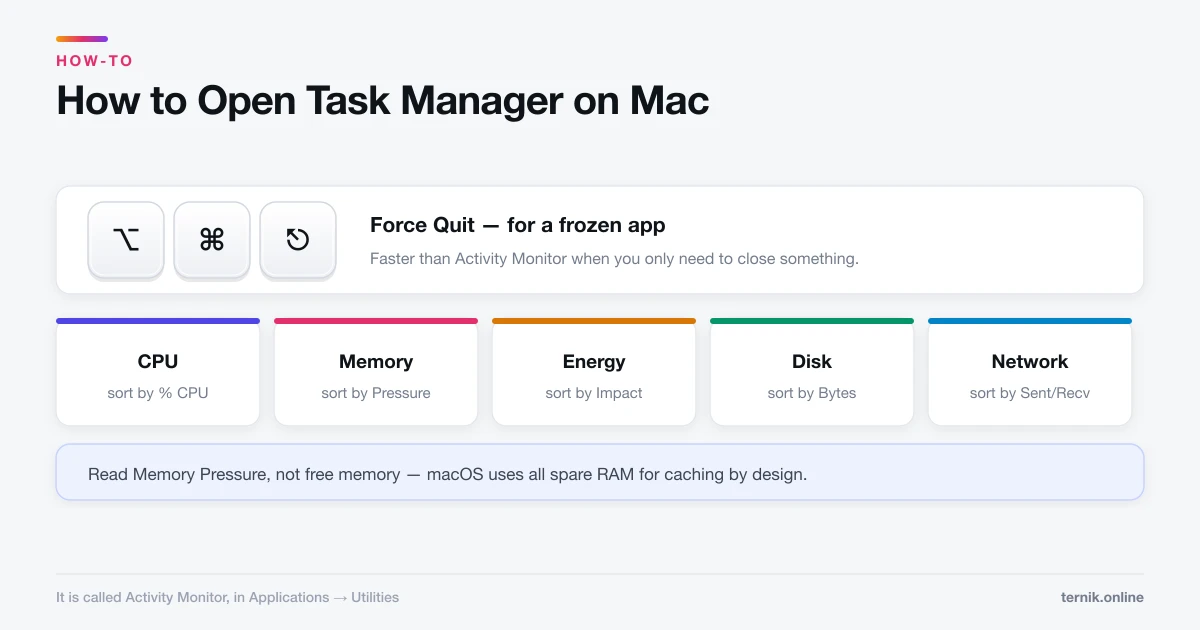
The recording stutters. Something else is saturating the CPU. Check Activity Monitor, quit heavy apps, and record a smaller region. Persistent stuttering on an otherwise idle Mac is worth a diagnostic.
Nothing happens at Shift-Command-5. The shortcut can be disabled under System Settings → Keyboard → Keyboard Shortcuts → Screenshots, or claimed by another app.
Frequently asked questions
Microphone audio is available under Options in the Shift-Command-5 toolbar. Internal system audio needs a virtual audio device such as BlackHole or Loopback — macOS cannot capture it alone.
Sources
Keep reading
More guides to grow your account.